Practice makes perfect.
- Brian

- Nov 11, 2020
- 2 min read

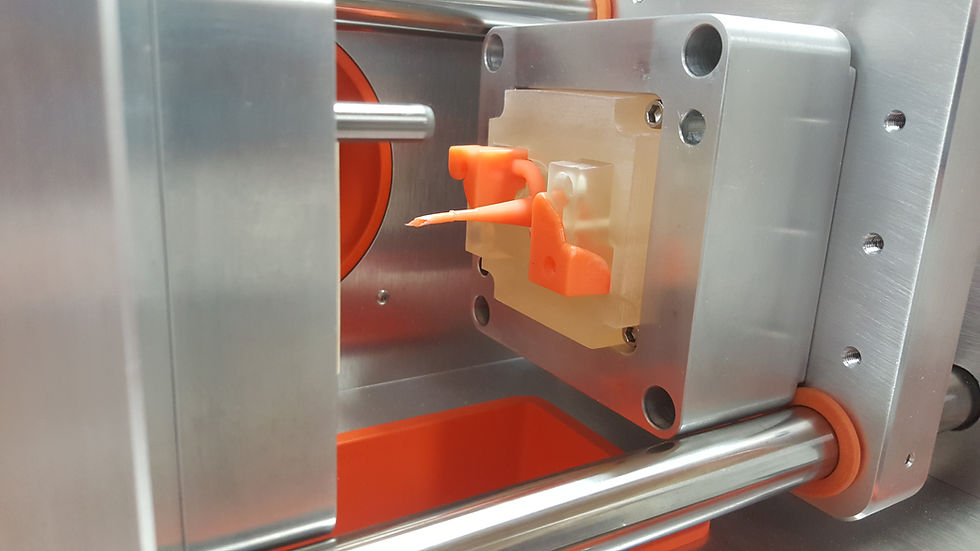
Example of a short-shot part
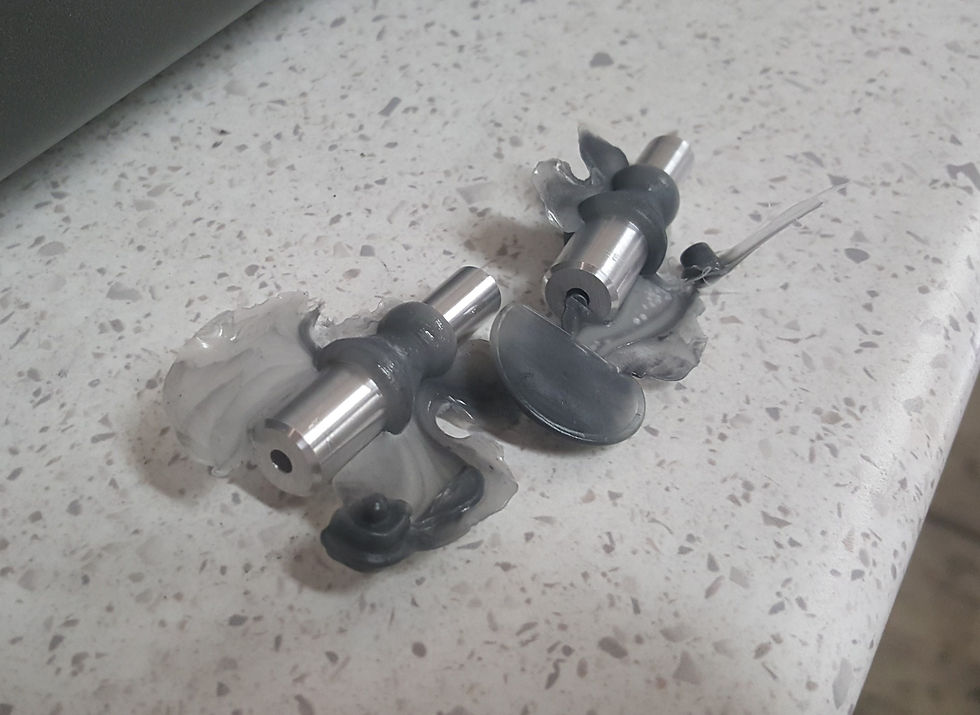
A common misconception around injection molding is that everything comes out perfect from the first shot to the last. Simply plug in the right temps, injection time and part cooling delay let the machine work its magic. Unfortunately this isn't the case. Chances are your first shots will be far from perfect. You may experience a short shot (mold cavity not filled) or parts with large amounts of flash caused by overfilling the mold cavity or not enough clamping pressure between the two mold halves.

Example of an overfilled tool cavity leading to excessive flash
Following the general guidelines for proper injection molding tooling design is a great way to achieve success quickly. (we will have more on design guidelines in an upcoming post). However, the process will still require test shots to dial-in and finetune the correct machine settings on MicroMolder. Fortunately our user interface allows you to adjust and save all the inject cycle parameters so that you can make small incremental changes from test shot to test shot. Once the goldilocks settings have been found and saved recalling those settings for similar designed tools or later micro production runs on the same tool will save you the hassle and time of tracking down those settings again.

Example of a short shot part still in the tool. Increasing the injection time for this part was required to fully fill the tool.

Incorrect clamping pressure and too long of an injection cycle is the result here. Increasing the clamping pressure and decreasing the injection time was all that was needed to produce a usable part.
As we have stated so many times "injection molding is an art more than it is a science".
Happy molding!


Comments